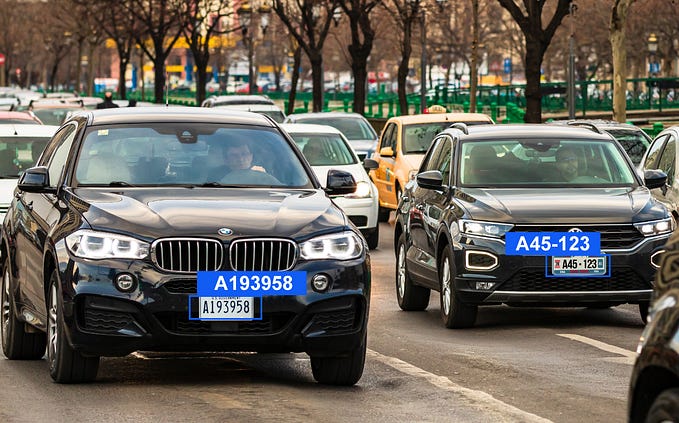
While object detection can provide us with information about where objects are inside one frame, when we try to associate the same object between multiple frames, detection itself might not be enough. If we use a naive approach, for example checking if there are overlapped bounding boxes in consecutive frames, it may work in some cases, but what if an occlusion happens? What if our detection doesn’t work well when in some aspect angle? This is where tracking methods come in handy, they can help us create a hypothetical trajectory to which direction a “lost” object may have been moving.
While there are many exotic machine learning visual multi-object tracking methods readily available on the internet. For many edge devices, that require less computation load, lighter methods are much more desirable. This is why Kalman filter may be considered a good potential method.
This article is mainly about some digging I did to utilize OpenCV’s Kalman filter.
The code
While there is a one-value Kalman filter example given by Opencv, examples of two values (namely x and y for a single point in a frame) are mostly in Python.
// Initialze
cv::KalmanFilter kalman = cv::KalmanFilter(4,2,0) ;

// Setting the states
kalman.statePre = (cv::Mat_<float>(4, 1) << StartX + StartW / 2, StartY + StartH / 2, 0, 0);
kalman.statePost = (cv::Mat_<float>(4, 1) << StartX + StartW / 2, StartY + StartH / 2, 0, 0);

kalman.transitionMatrix = (cv::Mat_<float>(4, 4) << 1, 0, 1, 0, 0, 1, 0, 1, 0, 0, 1, 0, 0, 0, 0, 1);
kalman.processNoiseCov = (cv::Mat_<float>(4, 4) << 0.3f, 0, 0, 0, 0, 0.3f, 0, 0, 0, 0, 0.3f, 0, 0, 0, 0, 0.3f);
kalman.measurementMatrix = (cv::Mat_<float>(2, 4) << 1, 0, 0, 0, 0, 1, 0, 0);
kalman.measurementNoiseCov = cv::Mat::eye(2, 2, CV_32F);
Why it is initiated with cv::KalmanFilter(4,2,0)? The “4” is for dynamic parameters, “2” for measurement parameters, and “0” for control parameters. Since my usage doesn’t involve actual inputting to affect the result, “0” is put into control parameters. “2” for measurement parameters represents X and Y, the center point of our tracked object, and “4” means X, y, 🛆X and 🛆Y. Thus, if we only want to estimate a single value we should use cv::KalmanFilter(2,1,0).
Then we set “statePre” and “statePost” which are the predicted and corrected result. By assigning our position in the X and Y, we set our initial position into the function.
Other parameters require you to dig further into how the Kalman filter works, “transitionMatrix” is the state transition model applied to the previous state. “processNoiseCov” is the process noise. “measurementMatrix” is the observation model, and finally “measurementNoiseCov” is the observed noise.
Voila, initiating is done and we can now start to use it.
Predict with
cv::Mat Predictions= Predictions = kalman.predict();
// Predictions.at<float>(0) is x
// Predictions.at<float>(1) is y
Correct with
// put your x,y into a cv::Mat
// e.g. cv::Mat Center = cv::Mat_<float>(2, 1) << x + w / 2, y + h / 2);
kalman.correct(Center);
Then we are done.
Epilogue
Now we can use Kalman filter for a single point in a picture.
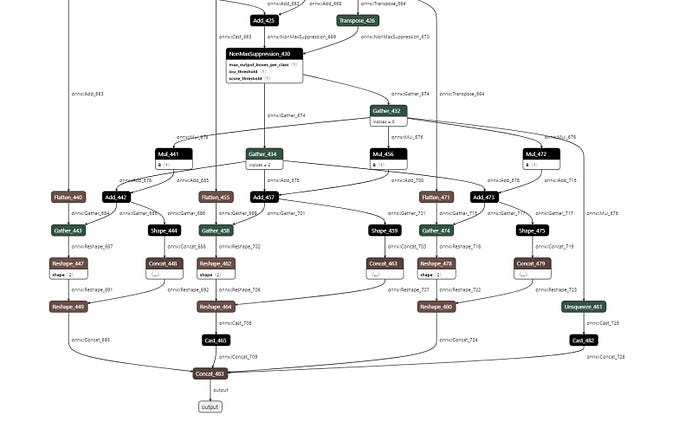
I have a sample code that can provide a more comprehensive view of how it can be used in code, it is built on the ONNXruntime example I created earlier.
Thank you for your watching. Bye!